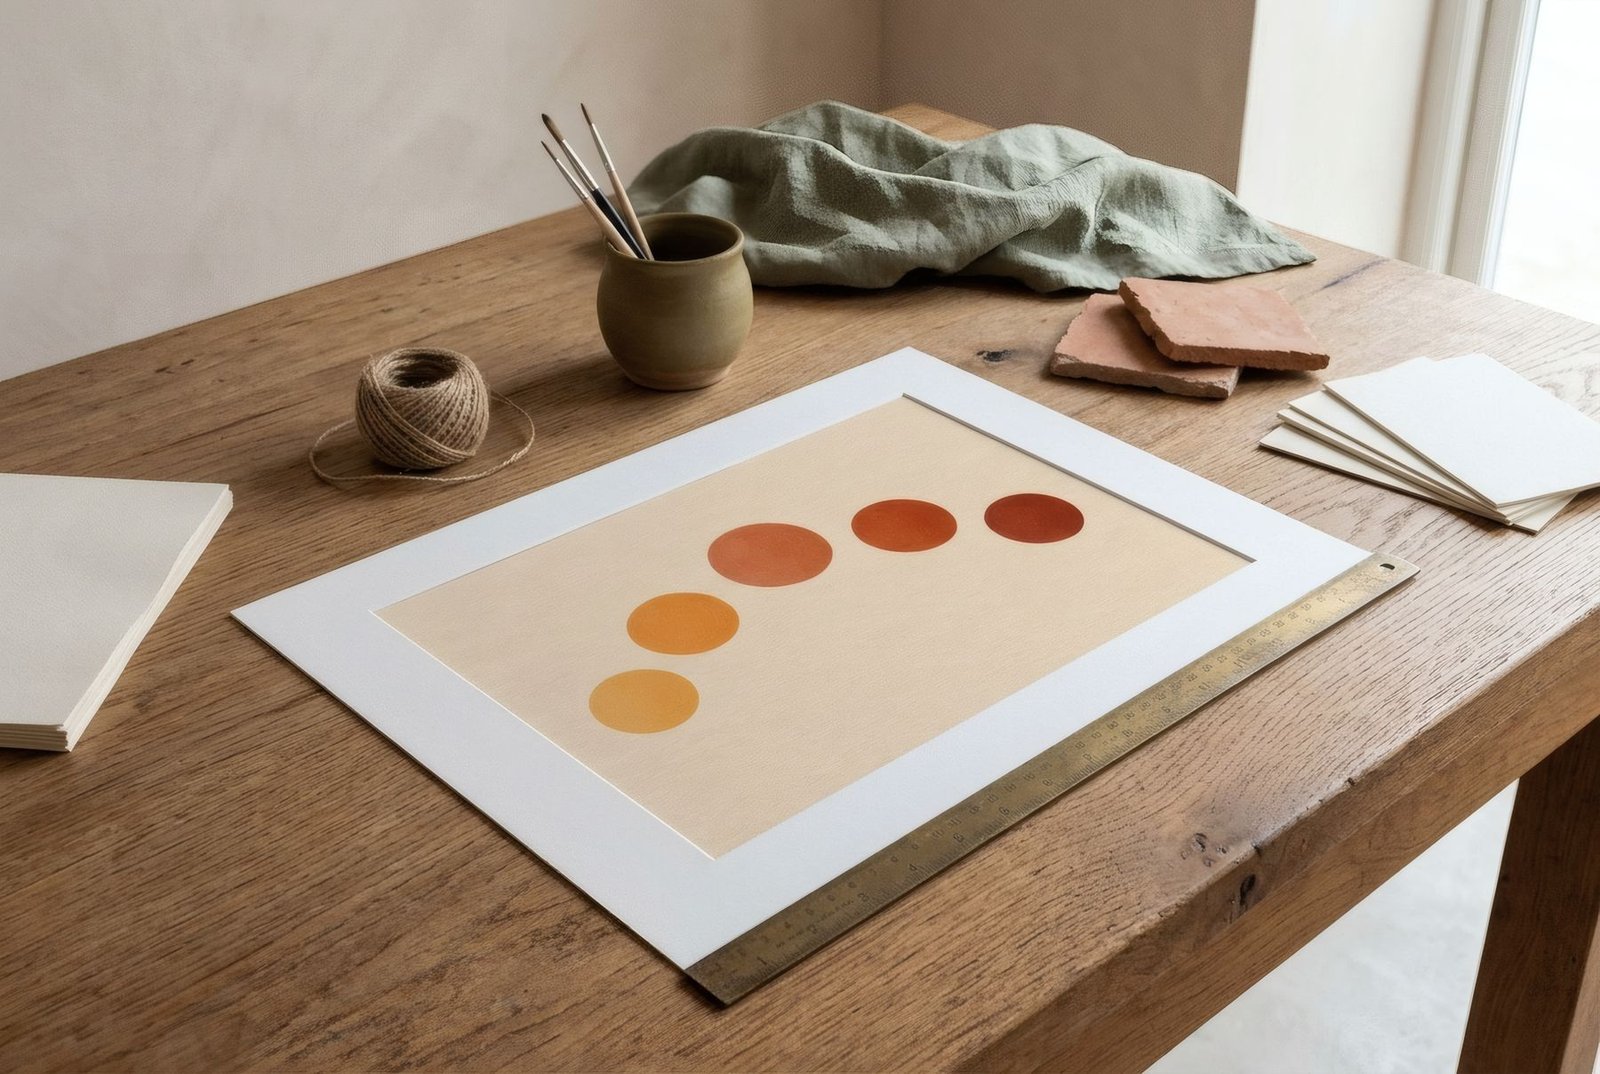
Few things are as frustrating as getting home with a new frame and discovering the print does not fit. A couple of centimetres too long, a slightly different proportion, a mount aperture revealing a strip of white that should not be there. Almost always the problem lies not in the frame or the print but in how they were measured. Measuring well before you buy is simple, as long as you know exactly what to measure: the paper, the image, the border, the inside of the frame and, if there is one, the mount aperture. With those five measurements clear, choosing the right frame first time is easy.
What you need
To measure a print you need only a metal ruler or a rigid tape measure, a clean flat surface and, if the print arrived rolled, a little patience while it flattens. Always measure with the print lying fully flat, weighting the corners with light objects if it curls, and handle it with clean hands or cotton gloves, holding it by the borders.
Measurement one: the paper
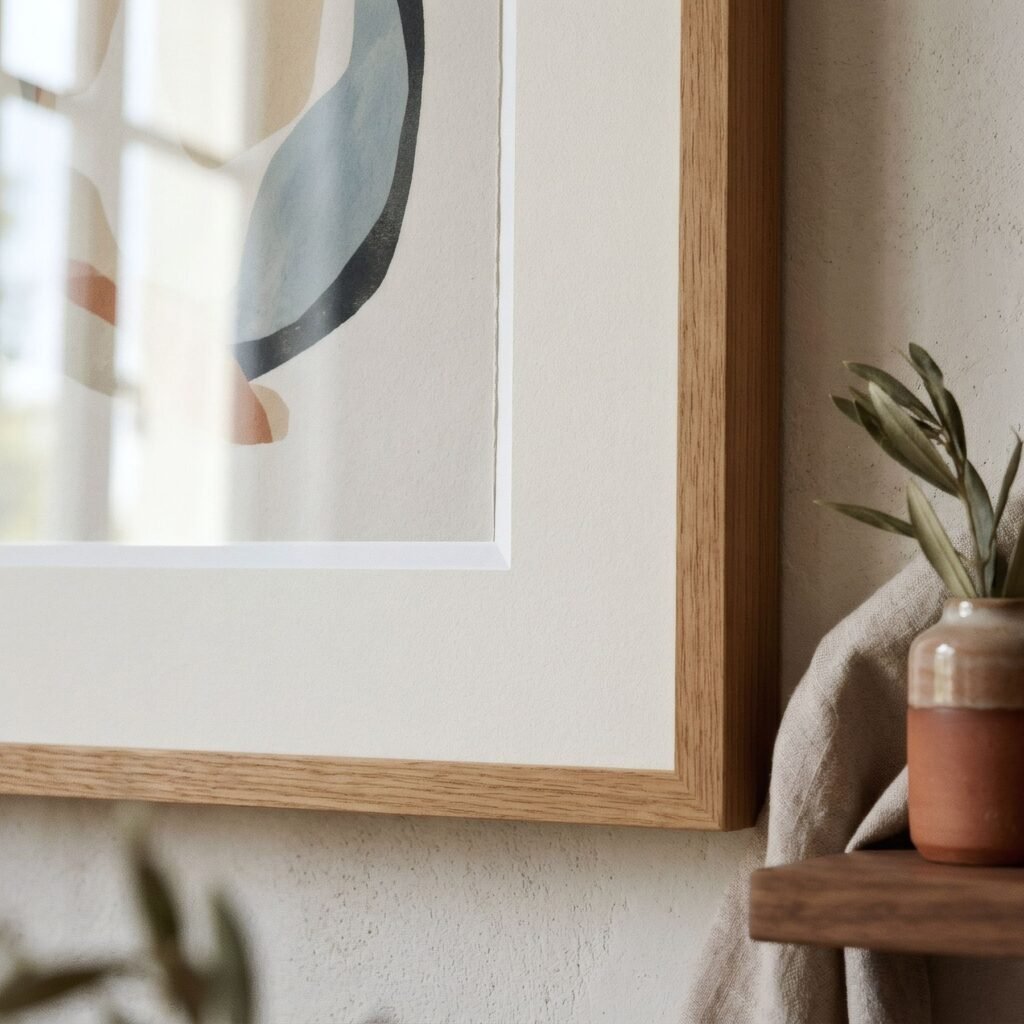
The first measurement is the whole sheet, edge to edge. This is usually what a product page calls the «print size»: A4, A3, 30 × 40 cm, 50 × 70 cm. It is worth checking, as trimming can leave differences of a few millimetres.
Measurement two: the image
The second is the image itself, the printed area. It does not always match the paper. Many prints have a white border around the image; others are printed «full bleed», with the image running to the edge of the paper.
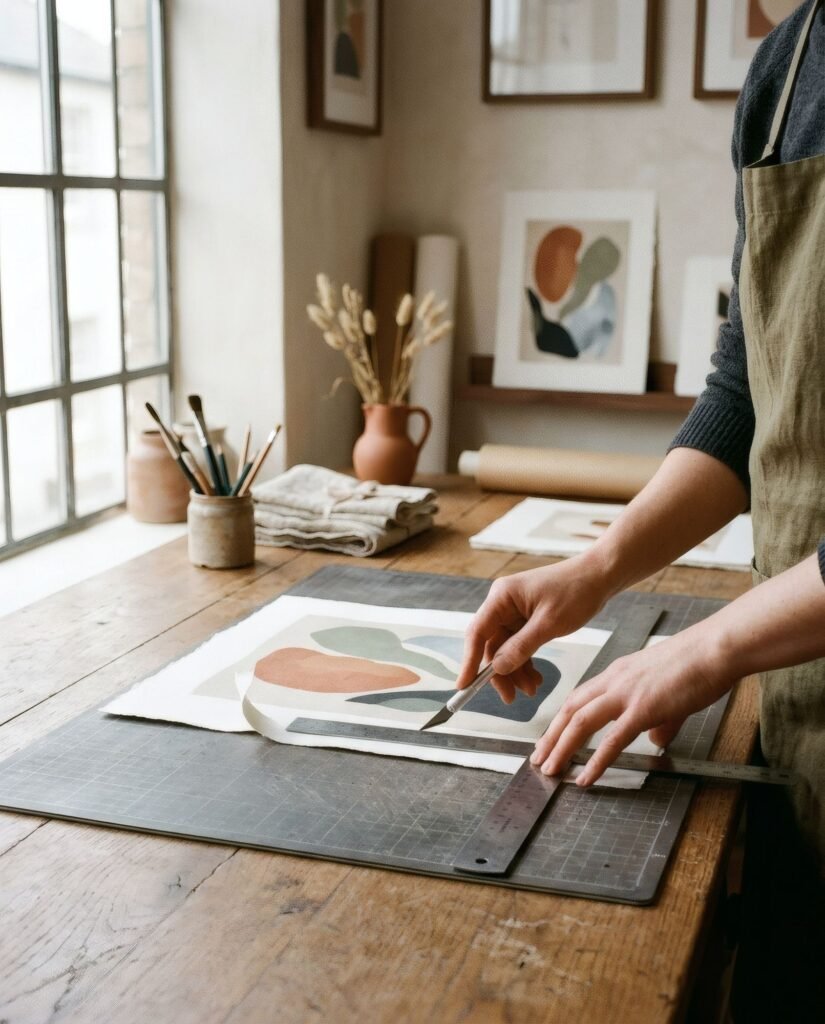
Knowing whether there is a border, and how wide, is essential to deciding how the print will be framed.
Decide: show the border or not?
Before choosing a frame, decide what you want to see.
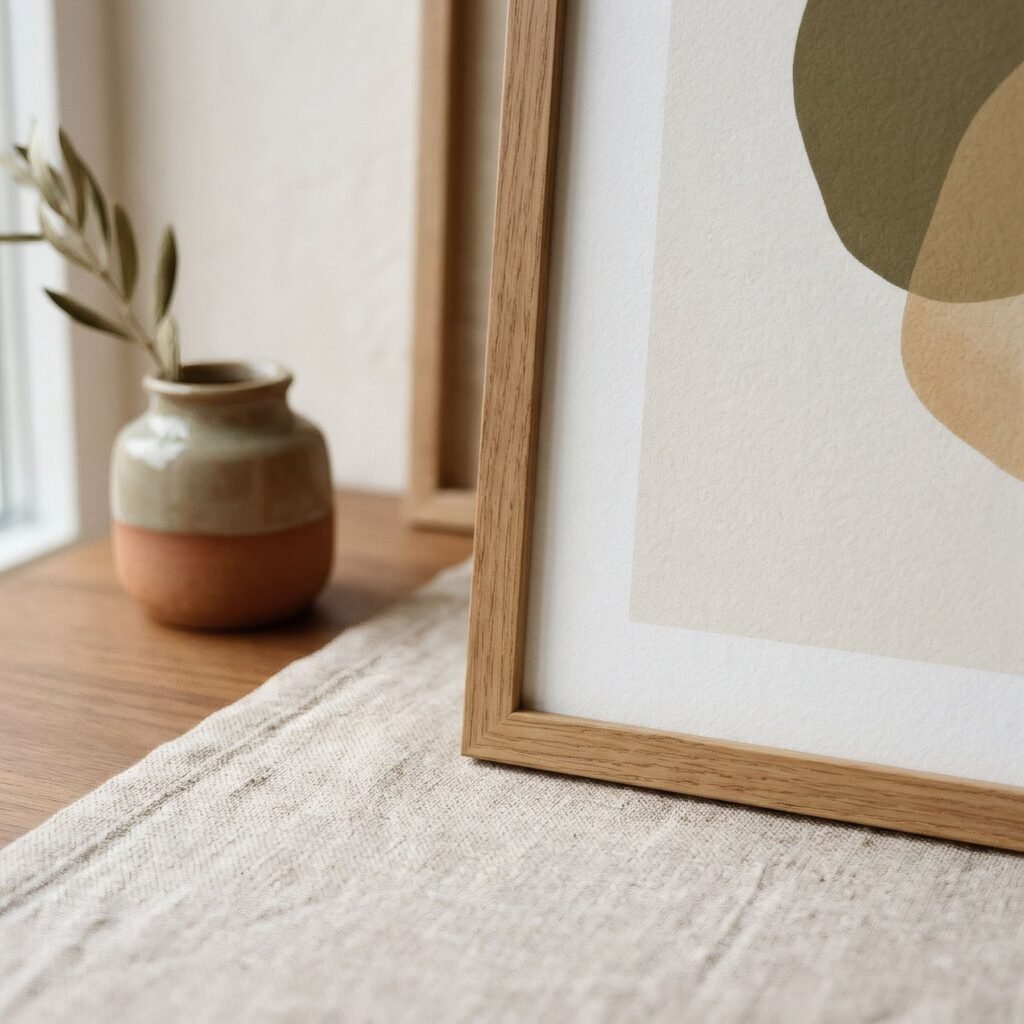
To hide the white border and show only the image, you need a mount whose aperture is the size of the image or slightly smaller, or a frame whose inner size matches the image.
To show the border, perhaps because it is part of the print’s design, the mount aperture must be a little larger than the paper, so the print appears to float within the frame. Or, without a mount, the frame should match the full paper size.
If the print is full bleed, the mount or frame will inevitably cover a few millimetres of the image at the edges.
Measurement three: the frame’s inner size
When buying a frame, what matters is not its outer size but its inner size: the space for glass, print or mount, and backing. Standard frames are named by that inner size. A «30 × 40 frame» takes paper or a mount of 30 × 40 cm, though it may measure considerably more outside, depending on the moulding width.
Remember that the frame’s lip, the rebate, covers a few millimetres of whatever is inside on each side. If the print goes straight into the frame without a mount, you will lose those millimetres at the edges.
Measurement four: the mount aperture
If you use a mount, there are two sizes: the outer size, which must match the frame’s inner size, and the aperture, the window through which the print shows. The aperture is usually a few millimetres smaller than the image, say 3–5 mm less on each side, so the mount holds the image edges without revealing the paper beneath. If you want the whole white border to show, the aperture must be larger than the paper.
Some examples
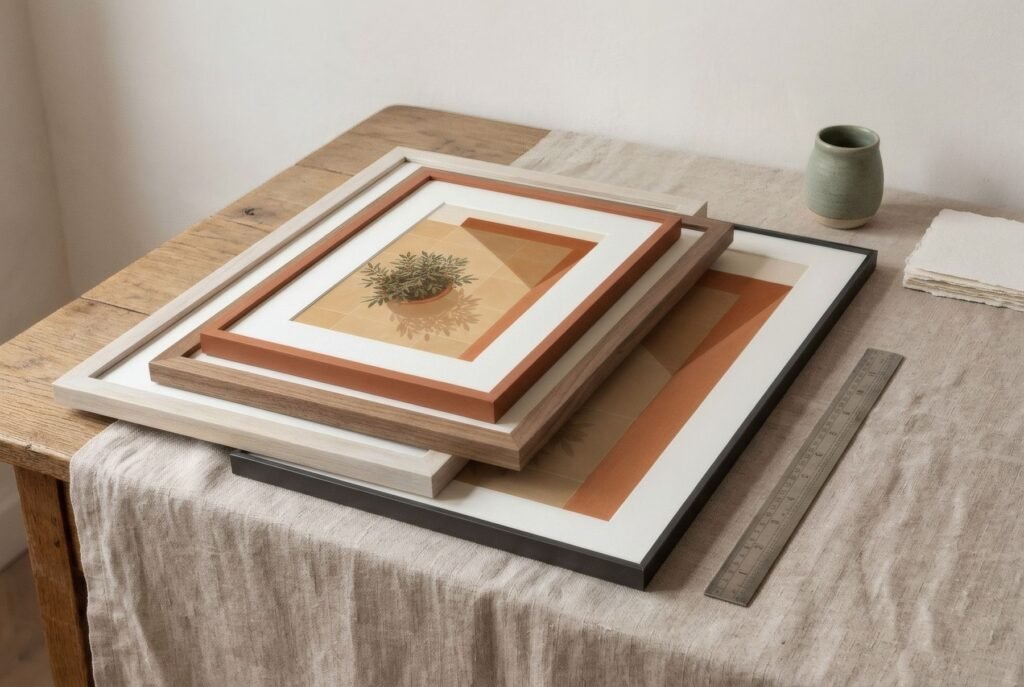
An A4 print with a mount in a 30 × 40 frame. A4 measures 21 × 29.7 cm. An aperture of about 20 × 28.5 cm covers the edges slightly, and the 30 × 40 outer mount leaves a border of about 5 cm around it. This is a very common combination in ready-made frames.
A 30 × 40 print in a 40 × 50 frame with a mount. An aperture of about 29 × 39 cm leaves roughly 5 cm of mount on each side and covers half a centimetre of the print at each edge.
An A3 print in a 30 × 40 frame without a mount. This is a mismatch: A3 is 29.7 × 42 cm, 2 cm longer than the opening. It will not fit without trimming. An A3 frame, or a larger frame with a mount, is the right choice. We discuss these differences in proportion in art print sizes: a complete guide.
One last tip
Before you buy, write all the measurements down: paper, image, border, frame inner size and mount aperture. If you are ordering bespoke framing, take the print with you or give the image dimensions, not just the paper size. A good framer will help you decide how much to cover and how much to show.
Measure twice, frame once
Measuring a print before buying a frame takes five minutes and prevents most problems. Knowing the difference between paper and image, inner and outer frame size, and mount and aperture is all it takes to get it right.
Bendíra prints are supplied unframed in standard sizes; each product page gives the exact paper size so you can choose a frame with confidence.
Keep reading: Paper Weight Explained for Art Prints, What Is a Mount Board? Matting Art Prints Explained and How to Choose a Frame for an Art Print.