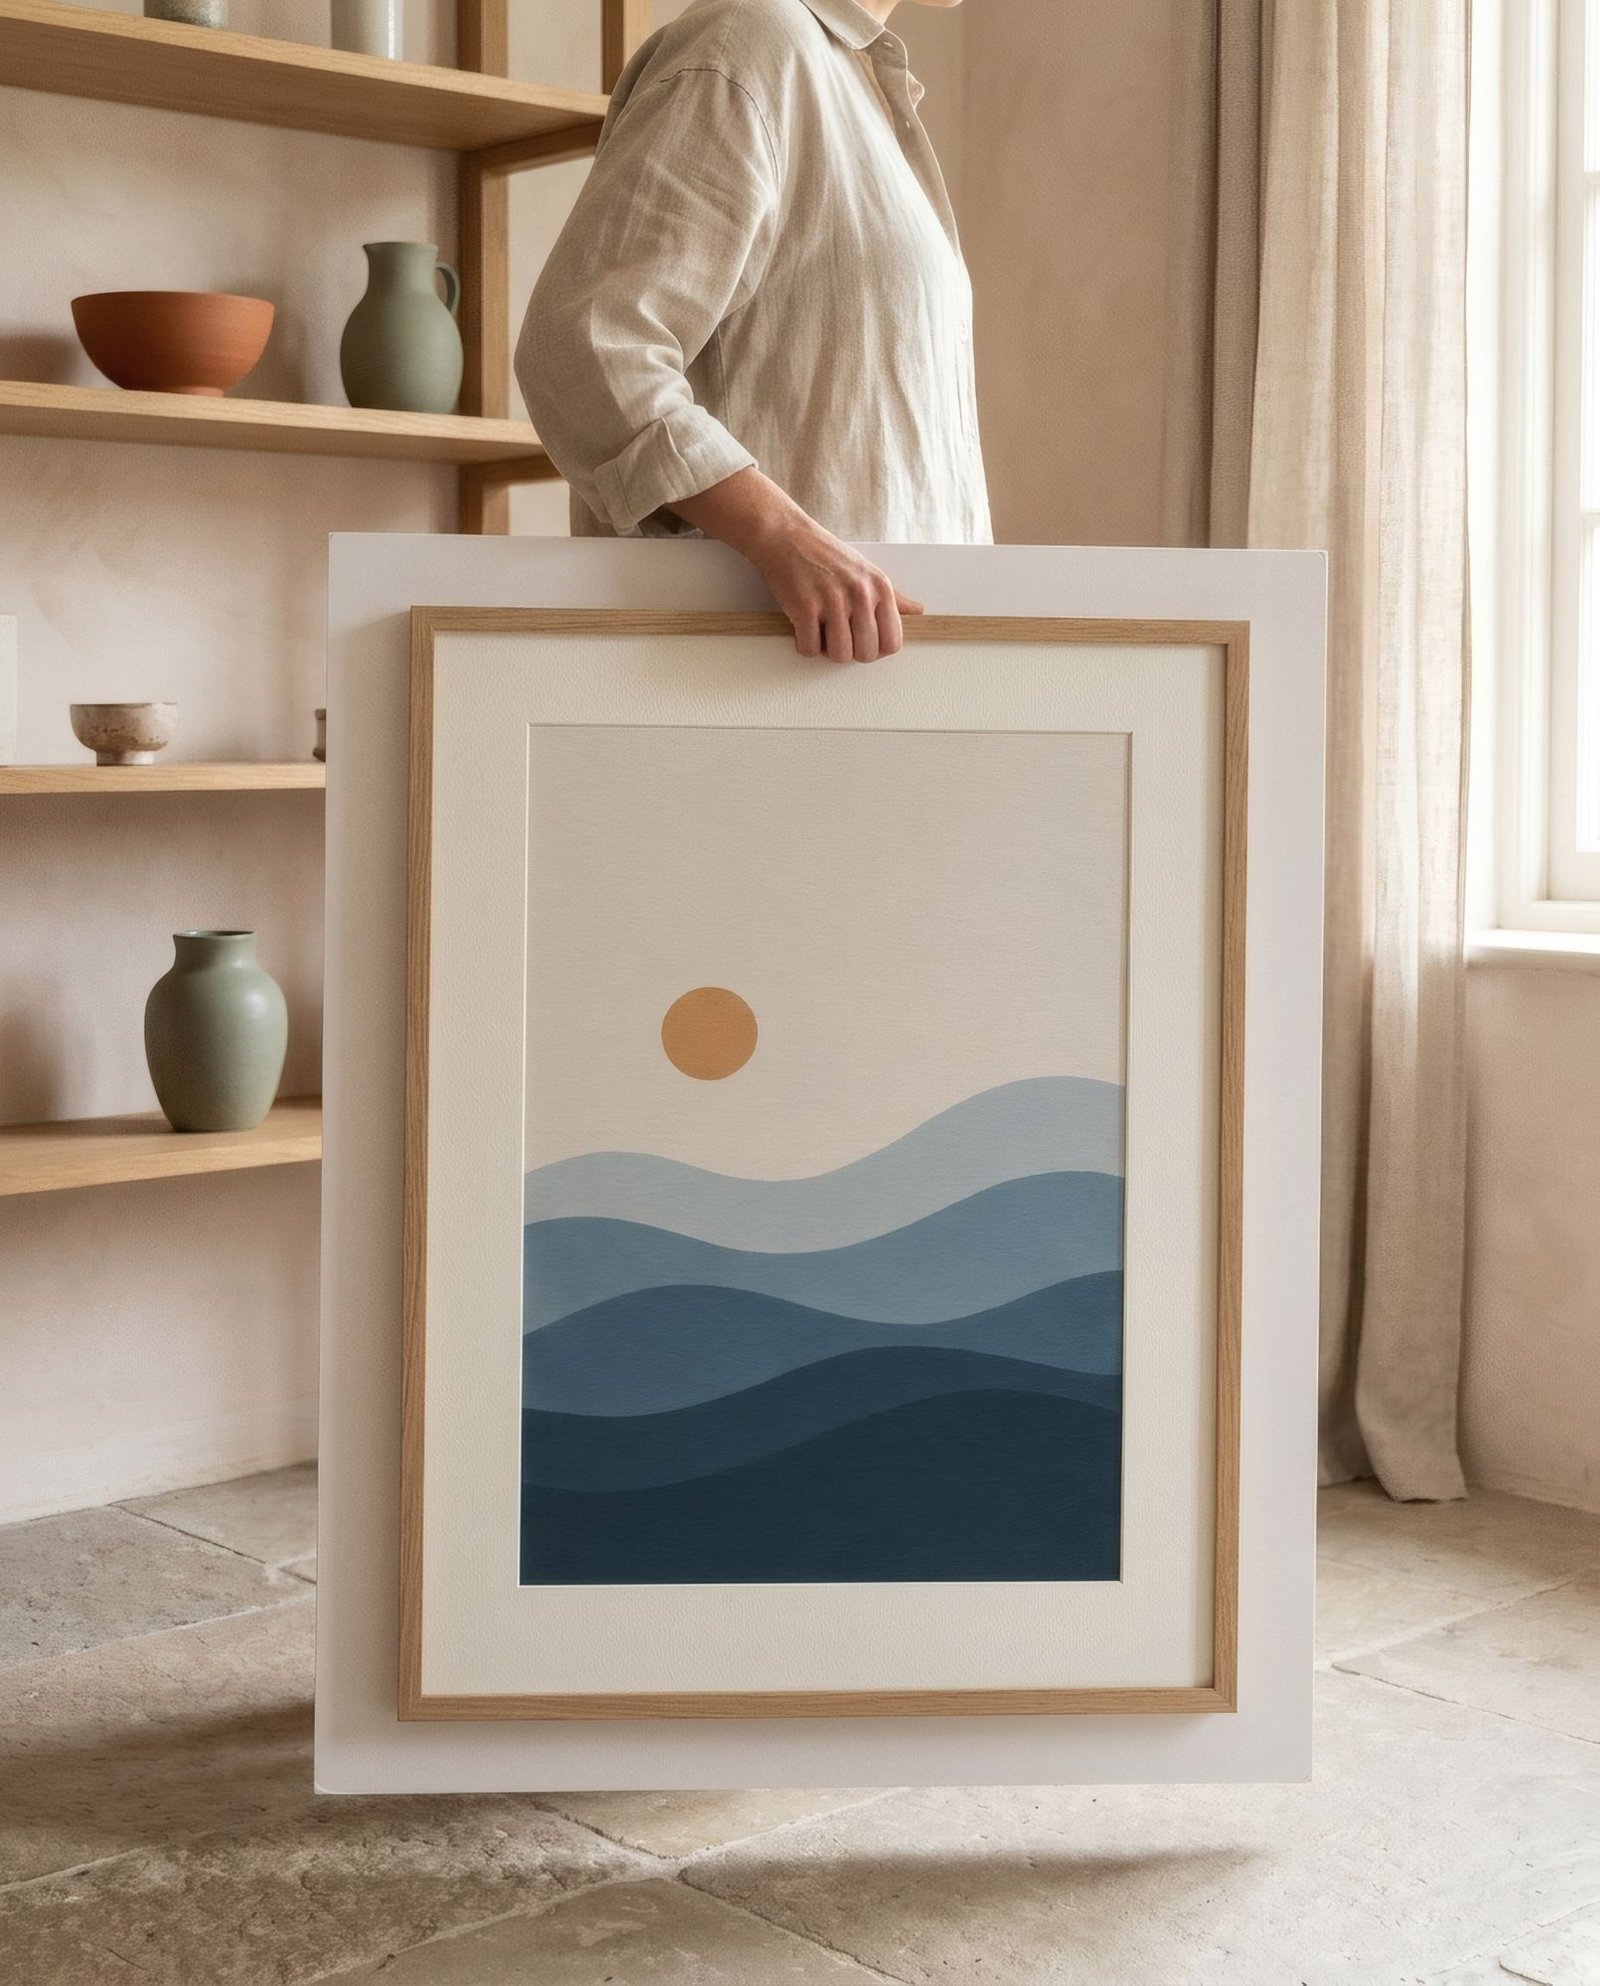
Anyone who’s bought a print knows the moment of mild tension. The parcel arrives, you open it carefully, slide the paper out of its envelope and, holding it in one hand, feel it bow under its own weight. A sudden move, a draught, a knock against the table edge, and there’s a mark that won’t go away. Fine art paper is tough in many ways, but it has one weak spot: it doesn’t forgive creases. The good news is that avoiding them is easy once you know a couple of habits.
Why paper marks
Good paper is made of interlocking fibres. Bend it gently and the fibres flex and spring back. Fold it sharply and the fibres break or crush along that line, and the mark stays for good. That’s a crease or, in heavier papers, a «crescent» or «ding»: those small curved marks that appear when a large sheet is picked up by one corner and buckles under its weight.
The golden rule, then: let paper curve broadly and softly, never at an angle.
Before you open: space and clean hands
Prepare the space before you take the print out. A clean, clear table larger than the print. Clean, dry hands with no hand cream, because skin oils can leave marks on matt papers that show up over time. For larger prints or ones with big dark areas, cotton or nitrile gloves are a sensible precaution.
Unpacking without hurry
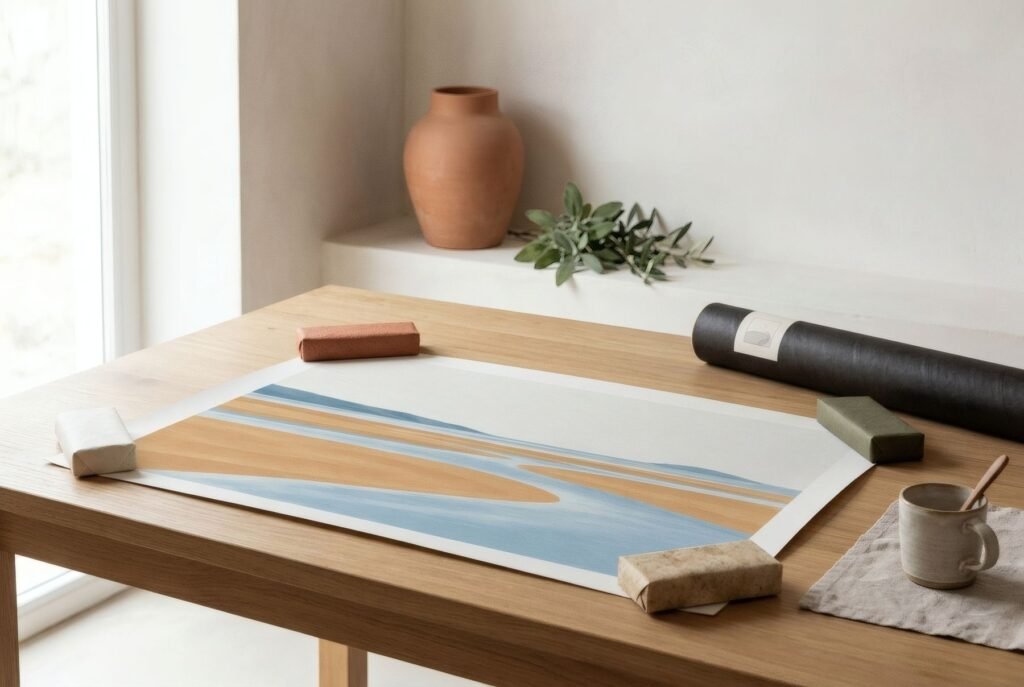
If the print arrives in a tube, ease the roll out gently without forcing it and let it unroll on the table, image side up. It’s normal for it to hold some curl at first: don’t try to flatten it by rolling it the other way. Place light, clean weights, such as books wrapped in paper, on the corners or margins, and let it relax for a few hours or a day.
If it arrives flat in a stiff envelope, open the envelope fully rather than pulling the print through a narrow slit. Slide the print out with its backing board, if there is one, rather than on its own.
How to hold it
Never pick a print up by one corner with one hand. It’s the move that causes more marks than any other.
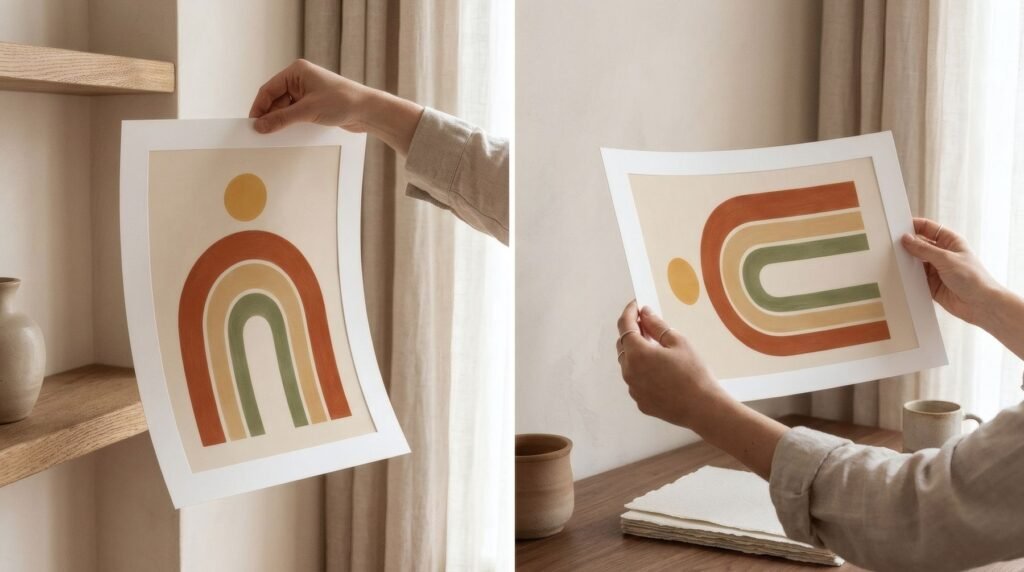
For small prints, hold it with both hands by opposite edges, letting it form a gentle downward curve. For large prints, it’s best not to lift it on its own at all: slide it onto a piece of stiff card or a portfolio larger than the print, and carry both together. That way the paper never has to bear its own weight. There’s more in how to transport unframed art prints safely.
If you need to turn it over, do it with the support: place a second board on top like a sandwich and turn both together.
While framing
Framing is another delicate moment. A few things help: work on a clean, flat surface with the print always supported; clean the glass well on both sides before the print goes in, so you don’t need to take it out again; and don’t slide the print across the glass or mount, because friction can mark dark areas. Lift it and place it.
Attach the print to the backing with paper tape or hinges along the top edge, and let it hang freely, so the paper can move slightly with changes in humidity without cockling. Taping all four sides can cause exactly the opposite. We explain more in how to frame a print to protect it.
If it’s already slightly curled
A gentle curl with no sharp creases usually relaxes on its own. Lay it flat on a table, image up, under a light, evenly spread weight, such as a stiff board with a few books on top, for a day or several, somewhere not overly humid. Don’t use an iron or heat: it can damage both ink and paper.
A sharp crease, on the other hand, has no safe home remedy. If the work is valuable, a paper conservator can assess the options. If it’s a recent print, contact the seller.
Small habits, big difference
Handling a print without marking it doesn’t need experience, just calm and a couple of habits: clean table, clean hands, never by a corner, always supported. Do that and the print will reach the wall just as it left the printer.
Bendíra prints are checked by hand before they’re sent. If you spot a crease or any damage on arrival, get in touch before framing it.
Keep reading: How to Store Unframed Art Prints, How to Protect Art Prints from Sunlight and Moisture and White Borders on Art Prints: A Practical Guide.