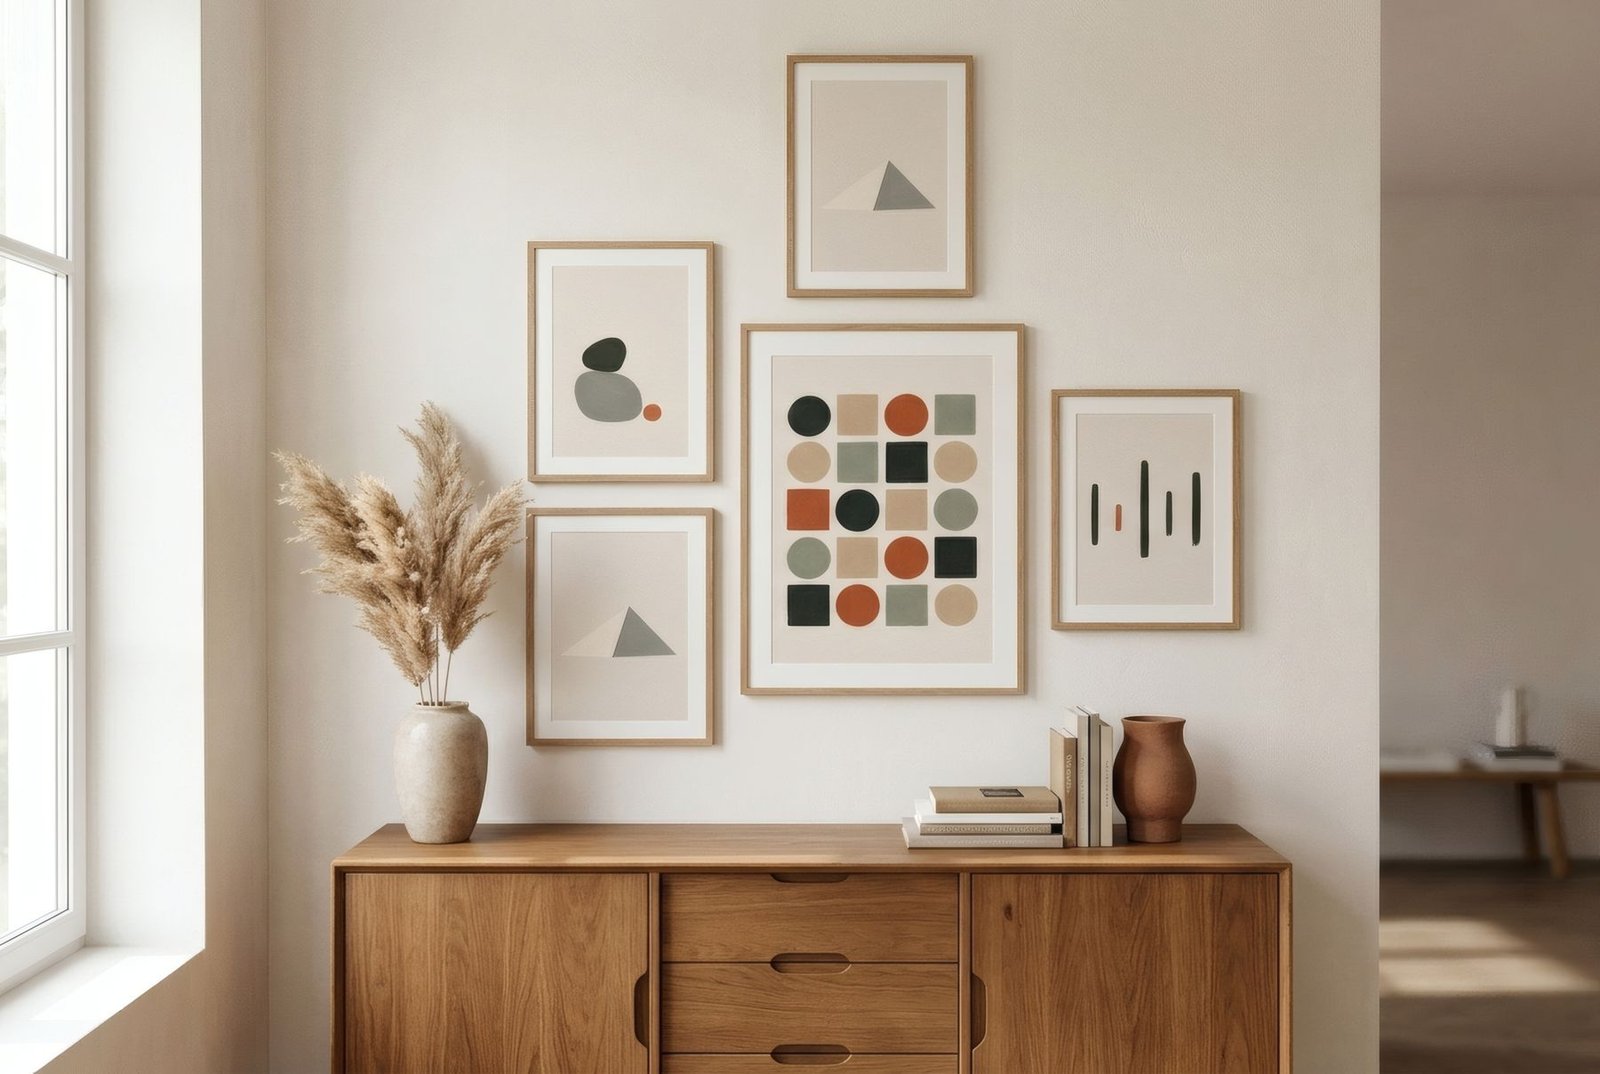
A good gallery wall is planned on the floor before it goes on the wall. Decide the overall area first, choose a layout, then keep the same gap between every frame, usually 5–8 cm (2–3 in). Do the deciding before you pick up the drill and the hanging becomes routine.
Below are five layout ideas, followed by the method that makes any of them work.
Five gallery wall layouts worth knowing
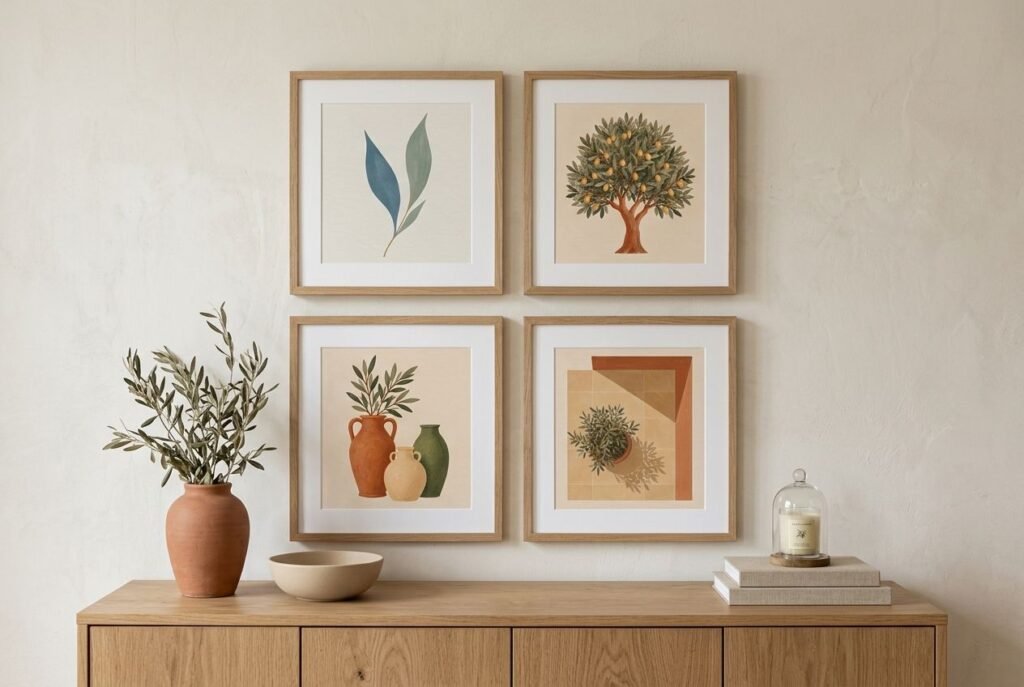
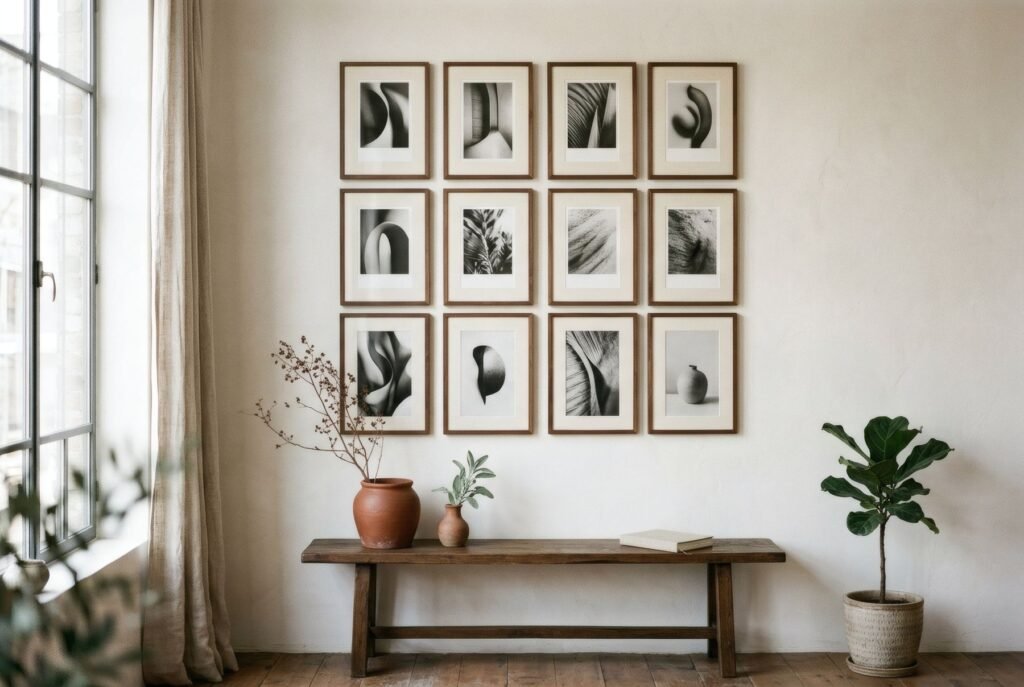
1. The strict grid
Identical frames in rows and columns with equal gaps. It is the calmest arrangement and suits a series: six botanical studies, four photographs of one coastline, nine small drawings. It rewards precision; a centimetre out of line is visible.
2. The shared baseline
Mixed sizes, but every frame sits on the same horizontal line, along either its bottom edge or its centre. It brings order without stiffness and is the easiest way to combine formats. A picture ledge is this layout made physical.
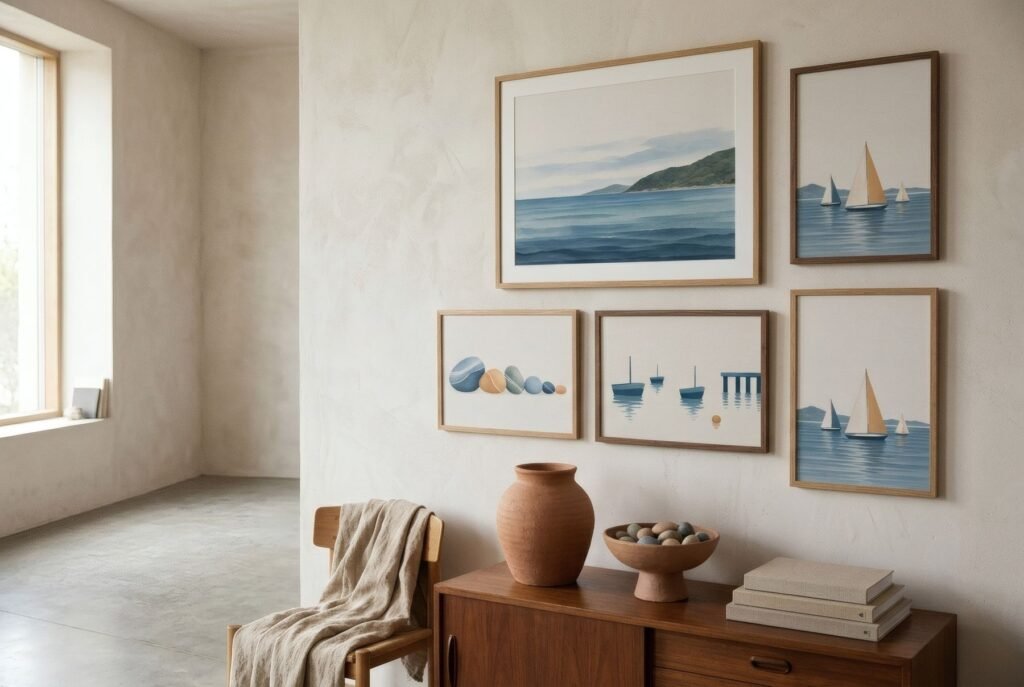
3. The anchor and orbit
One larger piece, placed centrally or slightly off-centre, surrounded by smaller works at a constant distance. The anchor gives the eye somewhere to land, and the smaller pieces can be far more varied without the wall feeling chaotic.
4. The salon hang
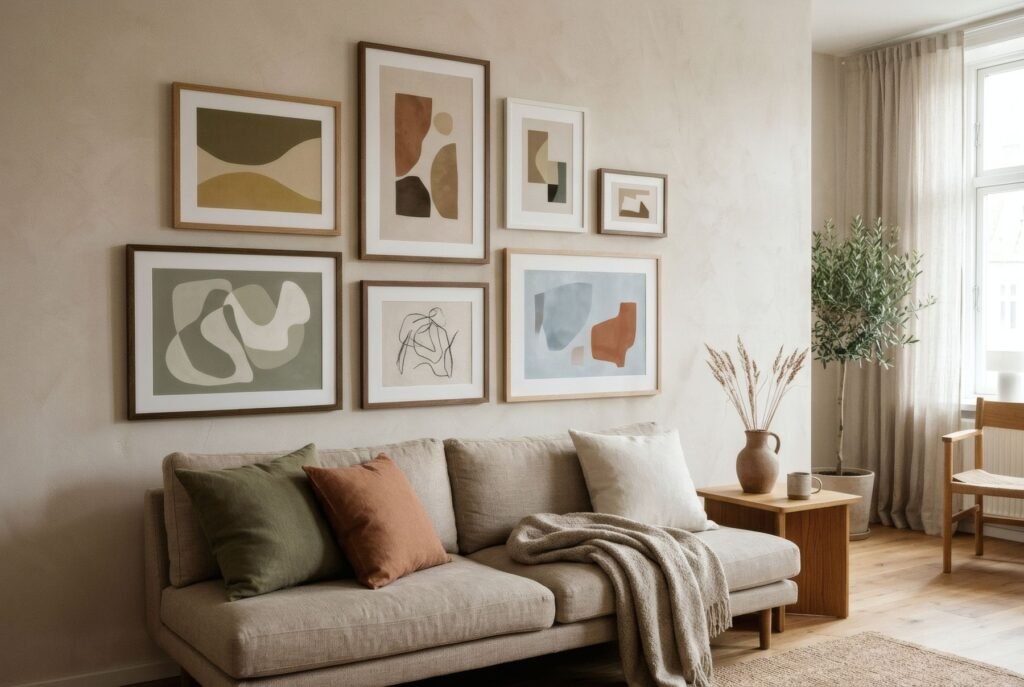
Frames close together, filling a large area from low to high, in the spirit of nineteenth-century exhibition walls. It suits tall rooms and large collections. It only stays legible if the outer edge is kept tidy and the gaps stay consistent, even when they are tight.
5. The staircase line
Frames follow the angle of a staircase, each one centred at the same height above the step below it. This makes use of awkward wall space and draws the eye upward.
Start with the outline, not the frames
Treat the gallery wall as a single large artwork made of smaller parts. Its overall size matters more than the size of any one frame.
Over a sofa or sideboard, the whole arrangement usually looks balanced at roughly half to two-thirds of the furniture’s width. On an open wall, mark the rectangle you want to fill with masking tape at the corners. That rectangle is your canvas.
Some rough examples:
- Above a 210 cm (83 in) sofa: an area of around 120–140 cm wide by 70–90 cm high (47–55 × 28–35 in).
- Along a 3 m (10 ft) hallway: a horizontal band of 180–220 cm (71–87 in) at eye level, using smaller pieces.
- Up a staircase: a diagonal following the pitch, as in layout 5.
Spacing is what people notice
If you control only one variable, make it this one. Consistent gaps make very different pieces look like they belong together.
- 5 cm (2 in) for small frames or compact clusters.
- 6–8 cm (2.5–3 in) for most living rooms.
- 8–10 cm (3–4 in) for larger works or very wide walls.
Go much beyond 12 cm (5 in) and the pieces start to read as separate pictures that happen to share a wall.
Plan on the floor, test on paper
- Lay the frames face up on the floor inside a taped rectangle the size of your wall area. Rearrange them until the layout works, then photograph it from above.
- Cut paper templates to the exact size of each frame and label them.
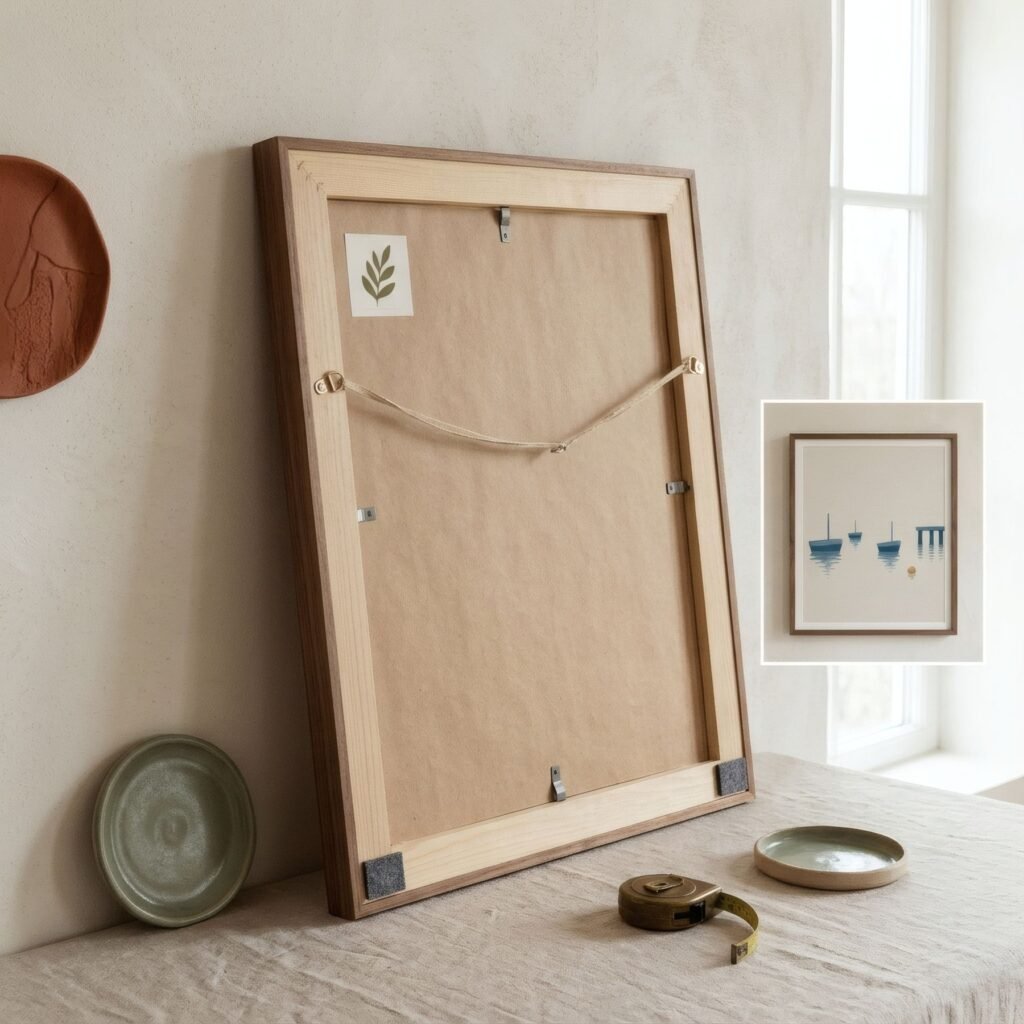
- Mark the hanging point on each template. Measure on the real frame from the top edge to the hook, or to the taut wire, and transfer that measurement to the paper. That is where the nail goes.
- Tape the templates to the wall, following your photo. Live with them for a day or two and look at the wall in morning and evening light.
When you are ready, nail through the marked point on the paper, then tear the template away.
Height of the whole arrangement
Hang the gallery wall as you would hang a single piece. On an open wall, aim for the centre of the arrangement at around 145–155 cm (57–61 in) from the floor. Above furniture, leave 15–25 cm (6–10 in) between the top of the sofa back and the lowest frame. In a very tall arrangement, it matters more that the bottom row relates to the furniture than that the whole group is centred on the wall.
Choosing pieces that hold together
You do not need everything on day one, but you do need one unifying idea. Any one of these is enough:
- A shared palette: two or three colours recurring across most pieces.
- One frame style: the same profile and finish throughout, whatever the images.
- A common medium or subject: only line drawings, only photography, only graphic prints.
For more on combining sizes and styles without losing that coherence, see how to mix and match wall art.
If you expect the wall to grow, leave room for it in the plan. Free-form layouts expand best at their edges, not from the centre.
Hanging safely
- Match fixings to the weight of the frame and the type of wall. Plasterboard needs cavity fixings; masonry needs a plug and screw. If in doubt, ask a professional.
- Frames heavier than a few kilos stay straighter on two hanging points.
- Small felt or rubber bumpers on the bottom corners keep frames level and protect the paintwork.
- In children’s rooms or narrow, busy corridors, consider acrylic glazing instead of glass.
Common mistakes
- Hanging one frame and improvising the rest. The wall drifts towards whichever space is free.
- Uneven gaps. This is the first sign that a gallery wall was improvised.
- Too many tiny pieces. Without one or two pieces of real size, the wall breaks into fragments.
- Ignoring the surroundings. Switches, corners and door frames all affect where the edges of the arrangement can sit.
A wall that can keep growing
A gallery wall does not need to be finished on the first day. Many of the best ones are built slowly, on a clear outline and a fixed gap. Once the outline is taped, the layout chosen and the templates hung, the rest comes down to patience.
If you are gathering pieces around a shared palette, Bendíra’s collections are grouped by families of colour and form, which makes it easier to find prints that sit comfortably on one wall.
Keep reading: How to Choose Wall Art for Your Living Room, How High Should You Hang Pictures? and How to Display Art Prints on Shelves and Ledges.